
But we will be using code from a udemy course to learn
deployment on pythonanywhere <
https://www.udemy.com/course/the-ultimate-beginners-guide-to-django-django-2-python-web-dev-website/
>
You can consider pythonanywhere , some what similar to
digital ocean , AWS or Heroku . But the deployment is very very easy. Try this
tutorial and you will figure it out.
Download code from here and unzip :
< https://github.com/zappycode/wordcount-project >
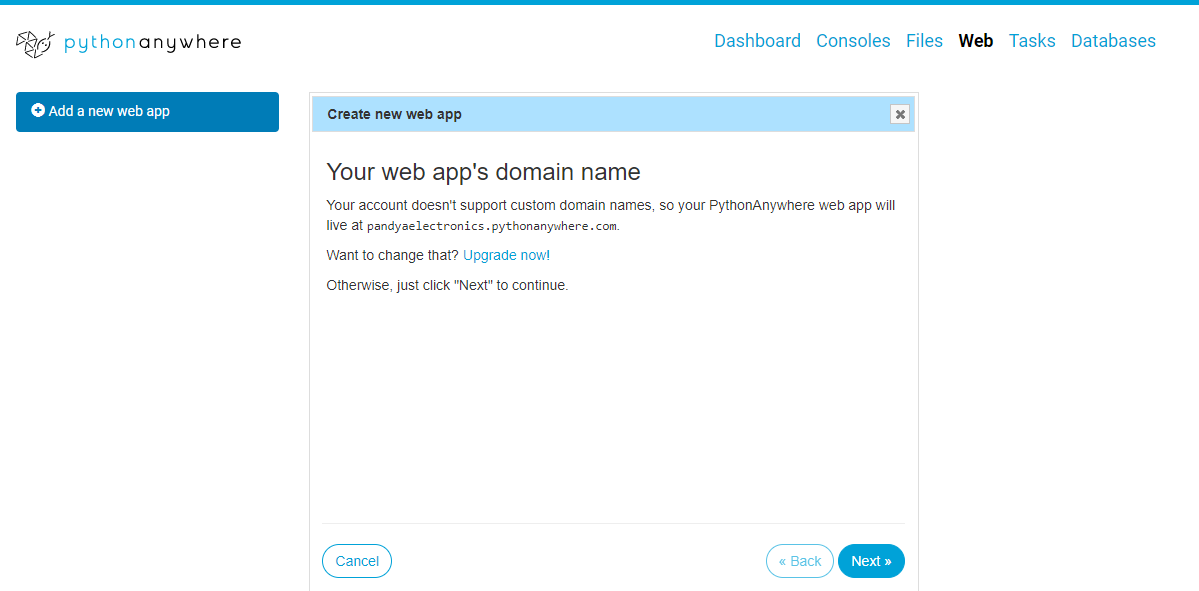
1) Go to “web” in dashboard -> Add a new web app .
As we are using
free account our app will be at < pandyaelectronics.pythonanywhere.com >
With paid account
you can add your own custom domain name as well.
2) then select Django , and then Python 3.6 (Django 2.2.7).
3) now it will ask for project name, be careful about project
name as this will decide directory structure.
In our case use: “wordcount”.

See our local project directory we need to create same directory structure.

4) In you go to directory of “Source code” in pythonanywhere then you will
be able to see current structure of our webapp. This is like a new Django app. Even
you can go to < pandyaelectronics.pythonanywhere.com > at this moment and
see default Django landing page.

5) Now we don’t need to modify manage.py , as they are same.
6) Create “templates” directory and upload your template
files inside that directory.


7) let media and static folders remain as it is.
8) modify following part in settings.py :
9) Replace “urls.py” and upload “views.py”
10) Reload the website.

11) go to url < pandyaelectronics.pythonanywhere.com >
and it should work.

I hope you liked this tutorial , let me know your inputs in comments.
No comments:
Post a Comment